Here is the original:

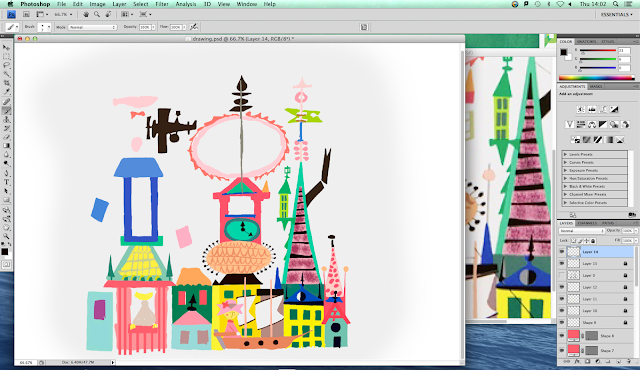
Here is my copy:
I started off by drawing an outline of the illustration on a piece of paper. I then scanned it into Photoshop and changed the threshold so that I could clearly see the lines.
I then created a white layer to go under the outline's layer. I used the Magic Wand Tool to get rid of the white around the outline so that I could take away the outline later on.
I started to add colour with the Brush Tool. I got the correct colours by using the Eyedropper Tool and selecting the colour from the original illustration.
When I had painted in all of the base colours, I took away the outline and started to neaten up the edges by touching them up with the Brush Tool.
I then started to add in the detail.


No comments:
Post a Comment